More Canvas Photos: From Original to Canvas
Introduction: Revised on December 16, 2015
Lately, I have been working with turning my original digital photos into framed canvas prints. Although I explain this process elsewhere on this page, let me repeat it for this series of entries. The workflow consists of taking the original photo housed in Photos--usually in raw, but not always, adjusting the photo in Photos, or sending it to Lightroom for major cropping and modifications, normally with the basic sliders provided in the software, exporting it to Pixelmator for appropriate sizing, some additional modifications, and adding a layer with my name and the year the photo was shot, which usually goes in the lower left or right corner depending on where it can best blend in without making the signature invisible. More recently, I have moved away from Lightroom and use the tools available in Photos to do some early post processing and then sending it on to Affinity (a new App) or Pixemator for experimentation and final rendering. I am currently moving away from using the subscription apps provide by Adobe. Although Affinity Photo does not currently have a mobile app, I like the power of this much less expensive alternative to an Adobe subscription. The Serif people who make Affinity Photo have promised a mobile app in 2016. In the meantime, I am perfectly happy to use Pixelmator for putting the finishing touches on my photos.
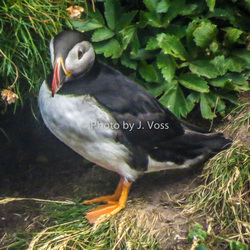
In Affinity or Pixelmator, I size the image to approximate what the canvas options are provided by Costco. I usually work with 14 by 14 or 12 by 16 prints. I normally frame the prints with the Costco frame option, but not always. I have also done one 30" by 30" canvas of a Puffin that I photographed this past summer in Scotland. That canvas print resides in my grandson's playroom.
Using the Gallery Tool in Weebly, I will use three or four versions of the photo to demonstrate the workflow of moving from the original shot to the final canvas. When appropriate, I will add some notes to a photo.
From Santa's House to a Digital Transformation
December 16, 2015
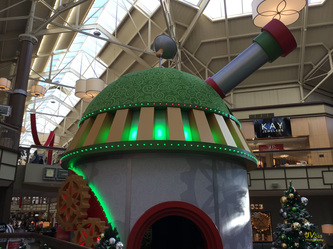
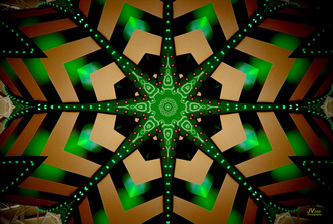
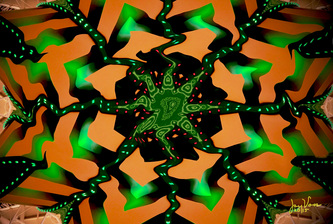
I took the original photo below with my new iPad Pro while sitting at the Mall next to Santa's House. I was sitting at a chair and just took the photo. After some initial cropping and adjusting in the Photos App, I chose the Pixelmatr extension available on the mobile version of Photos and experimented with the Kaleidoscope filter coming up with the second photo. I then went into the Pixelmatr App on my iPad and chose the filtered kaleidoscope shot of Santa's House. I was then able to transform it using the Warp tool into the final image you see below. When I was at home, I opened the final image in Affinity, made some lighting adjustments, and inserted the preset signature, deceasing the opacity to 80% on the signature to blend it in with the photo in a less obtrusive way. I have not sent this off for a canvas print yet. I still cannot decide if these modified versions using digital tools are viable candidates for a canvas print on my wall. At the very least, it is fun to experiment with the programmed magic of the digital tools. What also makes it interesting is that it would be highly improbable for me to repeat the process to get the same final image. The randomness of using the tools and then deciding on what pleases my eye is just plain fun.
Metadata: iPad Pro Back Camera, f 2.4, 1/120 sec, EV 0, AWB
A Backyard Flower Closeup
Summer, 2015
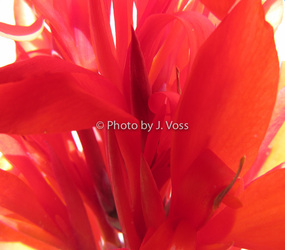
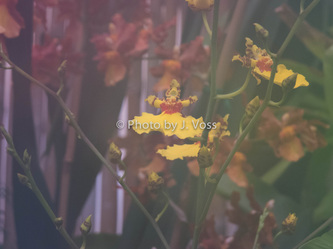
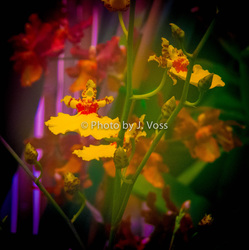
I have a perennial flower growing along the backside of my house. I should know its name, but do not. I looked in my reference book and could not find a flower with a likeness. I took this shot during its time of blooming in September and decided to enhance a closeup shot of it with Lightroom and a bit of Pixemator. I then sent it to Costco for a canvas rendition and this is the result. Click on the photos for the full resolution.
Metadata: f/4, 1/80 sec. EV 0, AWB
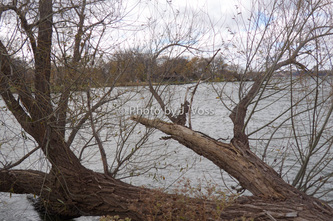
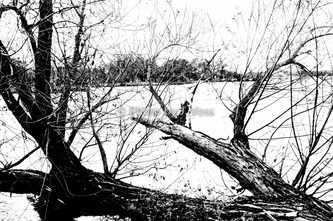
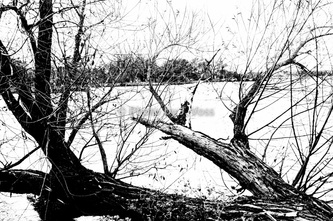
Abstract View of a Fallen Tree on Lake Mendota, Madison, Wisconsin, October 2014
Late in the second week of my visit to Madison, Wisconsin in October, I took some photos on a very windy day at Tenney Park, located on the near east side of Madison and bordering Lake Mendota, the largest and most dramatic lake in Madison. For me, the original color shot that I took holds little interest, and it is a photo that I could easily dismiss. However, thanks to Lightroom and Pixelmator, I was able to switch the photo to black and white and then use the exposure controls on the software to get the effect of the print that I sent to Costco. There is a similar type of canvas print described earlier on this page. Both canvases now hang next to each other in my den. I like the stark wintery feel this photo communicates. It was taken on a cold, windy day in very late October as the original photo displays, but the canvas print takes the image to another level for me. Perhaps you will agree or perhaps not. However, it is truly fun to use the two software programs to experiment. I usually use the program mode to shoot my photos, but here I unknowingly had the mode set to Automatic.
Metadata: f4, 1/320 sec, EV O, ISO 80, AWB
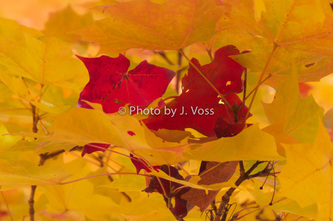
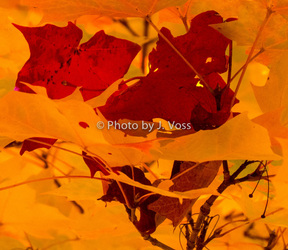
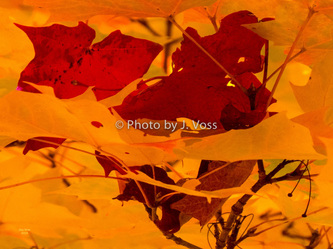
A Fall Shot of Leaves Transformed into a Canvas Print: Madison, Wisconsin, October, 2014
If you have examined my travelogue of my trip to Madison, Wisconsin in October located on the Travel Page of this Website, you have an idea of the vibrant fall colors I was able to capture during the first week of my two week visit. This particular photo was taken on a sunny Saturday afternoon in the University of Wisconsin Aboretum that borders the location of my lodgings. There are many colorful photos I can choose from for moving to the canvas print, but I liked this particular photo because there is an abstract feeling even in the original photo. I did not have to manipulate the content of the photo that I sent do Costco, but I did use Lightroom to crop the photo and create a vibrant orange and red tone to the finished print. I already have several canvas prints hanging in my kitchen with an emphasis on orange, so I thought this particular modification to the original photo might match nicely, but also communicate an abstractness that hopefully allows for the imagination expand on the content of the original photo.
Metadata: f 5.6, 1/100 sec., EV 0, ISO 500, AWB
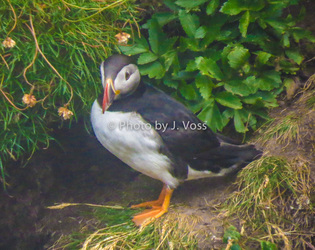
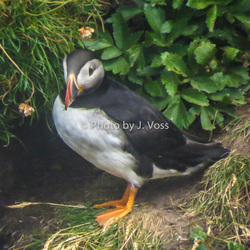
Puffin for New Baby: Photo Shot near John O' Groats, Scotland, July, 2014
It was a hazy day when we visited this seaside cliff sight in the far north of Scotland last summer. It was clear enoug h, however, to capture several photos of a particular Puffin posing on a rock ledge on the side of the cliff. I have already written of this experience on the page dedicated to my trip to Ireland and Scotland, so I will not add to the circumstances of taking the photo. My daughter and her husband are expecting their first child in December, and I thought creating a canvas print of this shot might be of interest for the baby's room or playroom. I also wanted to experiment with making a much larger canvas print than I had previously done, so I was worried about resolution and serious loss of the effect of the particular photo I shot. As usual, I used Lightroom to manipulate the photo for clarity and sharper colors because of the hazy day. I then used Pixemator for the sizing and the signature layer prior to sending it on to Costco. The canvas print hangs in the baby's playroom and I am only concerned that the beautiful Puffin has a calming effect on the little guy.
Medadata: f5, 1/1250 sec., EV -0.667, ISO 640, AWB
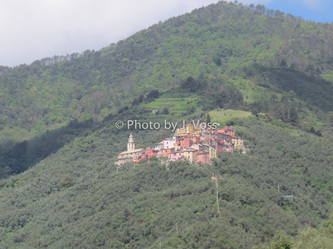
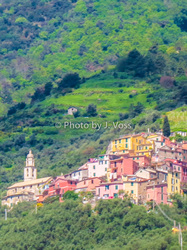
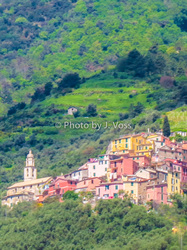
Italian Village on Hillside near the Cinque Terra in Italy
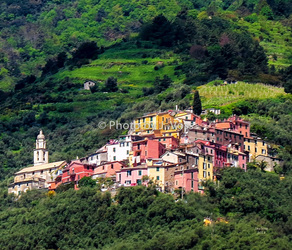
I photographed this village on my trip to Italy in May of 2014. My recollection is that I took it from the bus, but there is no evidence of glare anywhere on the photo, so perhaps it was taken during a roadside stop. This shows what Lightroom can do as well as Pixelmeater in creating the final print for Costco. Both programs have the ability to remove the electrical wires; but in the case of these particular examples, I used Pixlemator. Lightroom was essential for the cropping and the final lighting effects in the photo that was sent to Costco. I have struggled with how to sign these canvas prints, but currently I like creating a Layer in Pixelmatr and using a pleasing font for signing the final print. Be sure to click on each photo in the gallery to see the entire photo.
Metadata: f5, 1/160 sec, EV 0, ISO 160, AWB
Why do I love Lightroom? Here are two photos. The first is the original shot taken when my lense had fogged over from entering the heated Atrium at the Biltmore Estate from outside where it was cooler. At first glance I dismissed this photo as an unfortunate situation. Lightroom allowed for a different perspective, one that is more interesting to my eye. Below is the original photo, a second addition, cropped with a liberal use of the Basic adjustments in Lightroom, and the final rendition, more closely cropped with some noise reduction. Click on the photo for the fully formatted photo.
Metadata: f/5, 1/60 sec, ISO 320, EV 0, AWB
Metadata: f/5, 1/60 sec, ISO 320, EV 0, AWB
I have become an habitual user of the Clarity slider in Lightroom where I push it to the right for a sharper image. Here, I experimented with pushing the slider to the left and then using the Saturation slider to change the photo to black and white by going left and using both Saturation and Vibrance to arrive at the color rendition. Note the "fuzziness" of the two photos compared to the original.
Metadata: f/3.4, 1/250 sec., ISO 400, EV 0, AWB
Metadata: f/3.4, 1/250 sec., ISO 400, EV 0, AWB
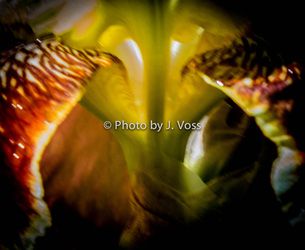
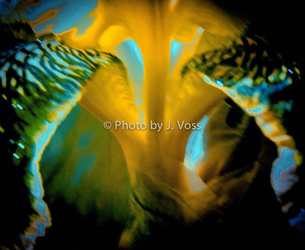
Here is my latest effort to create an abstract image from a photo taken of a flower on one of my recent walks around Ball Pond. The canvas now hangs in my dining room with several other efforts to use post processing for a more abstract effect. The first photo is the original photo I shot with my Canon Powershot SX50 HS. I brought the photo into Lightroom and made the changes you see in the second and third photos via cropping and a variety of the refinement tools in Lightroom. I then exported the final rendition to Pixelmator to prepare for the final rendition I sent to Costco. I will leave it for you to decide if the final photo looks like the base of an iris or perhaps something else. Click on the photos to see the full images.
Metadata: f/5.6, 1/160 sec, ISO 80, EV 0, AWB
Metadata: f/5.6, 1/160 sec, ISO 80, EV 0, AWB
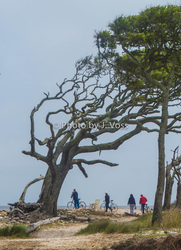
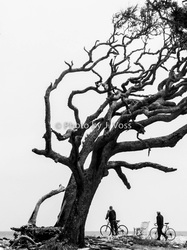
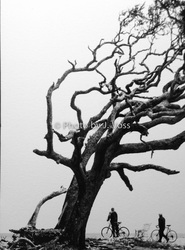
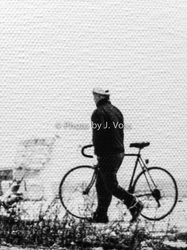
The following set of photos is my effort to demonstrate one of the work flow processes I go through in creating a Canvas print of a photo. I use Costco for the finished product. Most of the time, I choose the option to frame the photo canvas. I have given a few of these canvas photos as gifts to others, but for the most part my canvas photos hang in my own home. I used the Gallery format below. Be sure to click on each photo to see the full photo. The last two photos in the series were taken of the finished canvas with my iPhone and modified in Lightroom. The second photo in the series is the photo image that I actually sent to Costco. The closeup of one of the bikers shows the texture of the canvas.
Metadata: f/5, 1/800 sec., ISO 80, EV 0, AWB
Metadata: f/5, 1/800 sec., ISO 80, EV 0, AWB
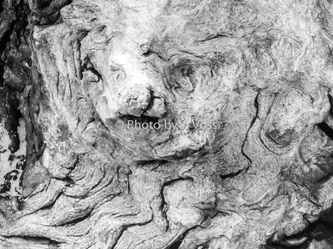
The images created by the wind and water on Driftwood Beach on Jeckyll Island were quite interesting. The image shown below took on more of a stark reality when I used Lightroom to change the original image into black and white with an emphasis on the contrast.
Metadata: f/4, 1/500 sec, ISO 80, EV 0, AWB
Metadata: f/4, 1/500 sec, ISO 80, EV 0, AWB
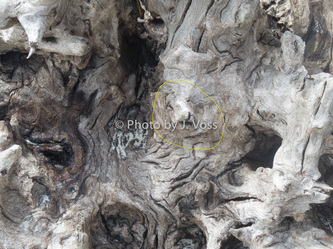
The photo on the left represents the original full shot of the base of a tree stump sitting on Driftwood Beach on Jeckyll Island. In the second photo, I cropped the photo to focus on a small portion of the stump that appears to reveal the face of an animal. Click on the photo for a larger format. The original photo was shot in color, but I post processed it to black and white to bring out the textures. I call the final photo "Driftwood Spirit."
Metadata of Final Photo: f/5, 1/125 sec., ISO 80, EV 0, AWB
Metadata of Final Photo: f/5, 1/125 sec., ISO 80, EV 0, AWB
I was fooling around with the BW tone and the shutter speed on this photo. I like the abstract feeling of it. I took it to satisfy an assignment in Street Photography in a recent photo course I took.
Metadata: f/5, 1/20sec, ISO 1000, EV 0, AWB
Metadata: f/5, 1/20sec, ISO 1000, EV 0, AWB
I captured this sunrise looking from my Deck at Wild Dunes on a morning with interesting lighting and clouds.
Metadata: f/5, `1/125 sec., ISO 80, EV 0, AWB
Metadata: f/5, `1/125 sec., ISO 80, EV 0, AWB
I shot this on the beach just outside my condo. I wanted to overexpose the result, hoping to give the photo an abstract quality with a suggestion of a painting.
Metadata: f/4, 1/800 sec, ISO 400, EV +2, AWB
Metadata: f/4, 1/800 sec, ISO 400, EV +2, AWB
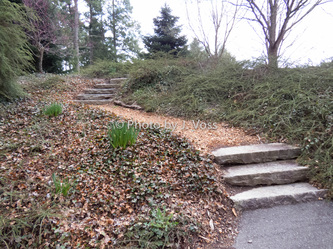
I shot this in a park in New Milford, CT on a hazy day in January, 2014. I then used Lightroom to change the color tone.
Metadata: f/4 at 1/650 sec, ISO 80,EV .333, AWB
Metadata: f/4 at 1/650 sec, ISO 80,EV .333, AWB
This was a mistake that turned out sort of interesting. There is an abstract quality that appeals to me. It was taken in the Bund area of Shanghai in May of 2012 where the lit boats on the river blend with the colors of the skyscrapers close by. I handheld the camera.
Metadata: f/4.5 at 1 sec., ISO 400, EV 0, AWB, no flash
Metadata: f/4.5 at 1 sec., ISO 400, EV 0, AWB, no flash
I took this photo in Chicago on the same morning as the Cloud Gate at Millennium Park posted on the Landscape page. It is a section of a giant abstract stage cover at the Jay Pritzker Pavillion . I am not sure if it works as an abstract design, but I liked the reflection of the early morning sun with the lines and shapes.
Metadata: f/5 at 1/30 sec., ISO 400, EV 0, AWB
Metadata: f/5 at 1/30 sec., ISO 400, EV 0, AWB
